Music production can be a very technical field, so it’s important to have a good grasp of the fundamentals before you dive in.
Then you’ll need to make sure you have the right equipment. After that, you need to consider things like acoustics and audio quality.
Finally, and most importantly, you need to know how to use all of this to make great-sounding music.
The 9 Essentials for Setting Up Your Home Recording Studio
The Computer
Let’s face it, these days, who doesn’t have a computer? If you don’t, then that’s your biggest expense. But don’t worry, even the most affordable laptops are good enough to get you started. So if you don’t have one, it’s time to invest.
DAW/Audio Interface Combo
This is the software and hardware that your computer uses to record sound from your mics/instruments and send sound out through your headphones/monitors. You can buy them separately, but it’s cheaper to get them as a pair. Plus, you get guaranteed compatibility and tech support.
Studio Monitors
These are essential for hearing what you’re recording. They help you make sure that what you’re recording sounds good.
Cables
You’ll need a few cables to connect your instruments and mics to your audio interface.
Mic Stand
You’ll need a mic stand to hold your mic in place.
Pop Filter
This is a must-have if you’re recording vocals. It helps to reduce the “popping” sound that can occur when you sing certain words.
Ear Training Software
This is great for honing your listening skills. It helps you to identify different sounds and tones.
The Best Computers/Laptops for Music Production
If you want to upgrade your computer later on, here’s what I recommend:
- Macbook Pro (Amazon/B&H)
Essential Microphones for Your Main Instruments
You don’t need a ton of mics to get started. All you need is 1 or 2. Here’s what I recommend for the most common instruments:
- Large Diaphragm Condenser Vocal Mic: Rode NT1A (Amazon/B&H/Thomann)
- Small Diaphragm Condenser Mic: AKG P170 (Amazon/B&H/Thomann)
- Drums, Percussion, Electric Guitar Amps, and other mid-frequency instruments: Shure SM57 (Amazon/B&H/Thomann)
- Bass Guitar, Kick Drums, and other low frequency instruments: AKG D112 (Amazon/B&H/Thomann)
Closed-Back Headphones
These are essential for monitoring your playing. They help you hear what you’re recording and make sure it sounds good.
Getting Started with Home Recording Music
Set the Beat
Ready to get your groove on? Here’s what you need to do to get started:
- Set your time signature and BPM – like a boss!
- Create a simple beat to keep you on time – no need to worry about it later
- Record your main instrument – let the music flow
- Add in some scratch vocals – so you know where you are in the song
- Layer in the other instruments and elements – get creative!
- Use a reference track for inspiration – it’s like having a mentor
Have Fun!
Recording music at home doesn’t have to be intimidating. Whether you’re a newbie or a pro, these steps will help you get started. So grab your instruments, get creative, and have fun!
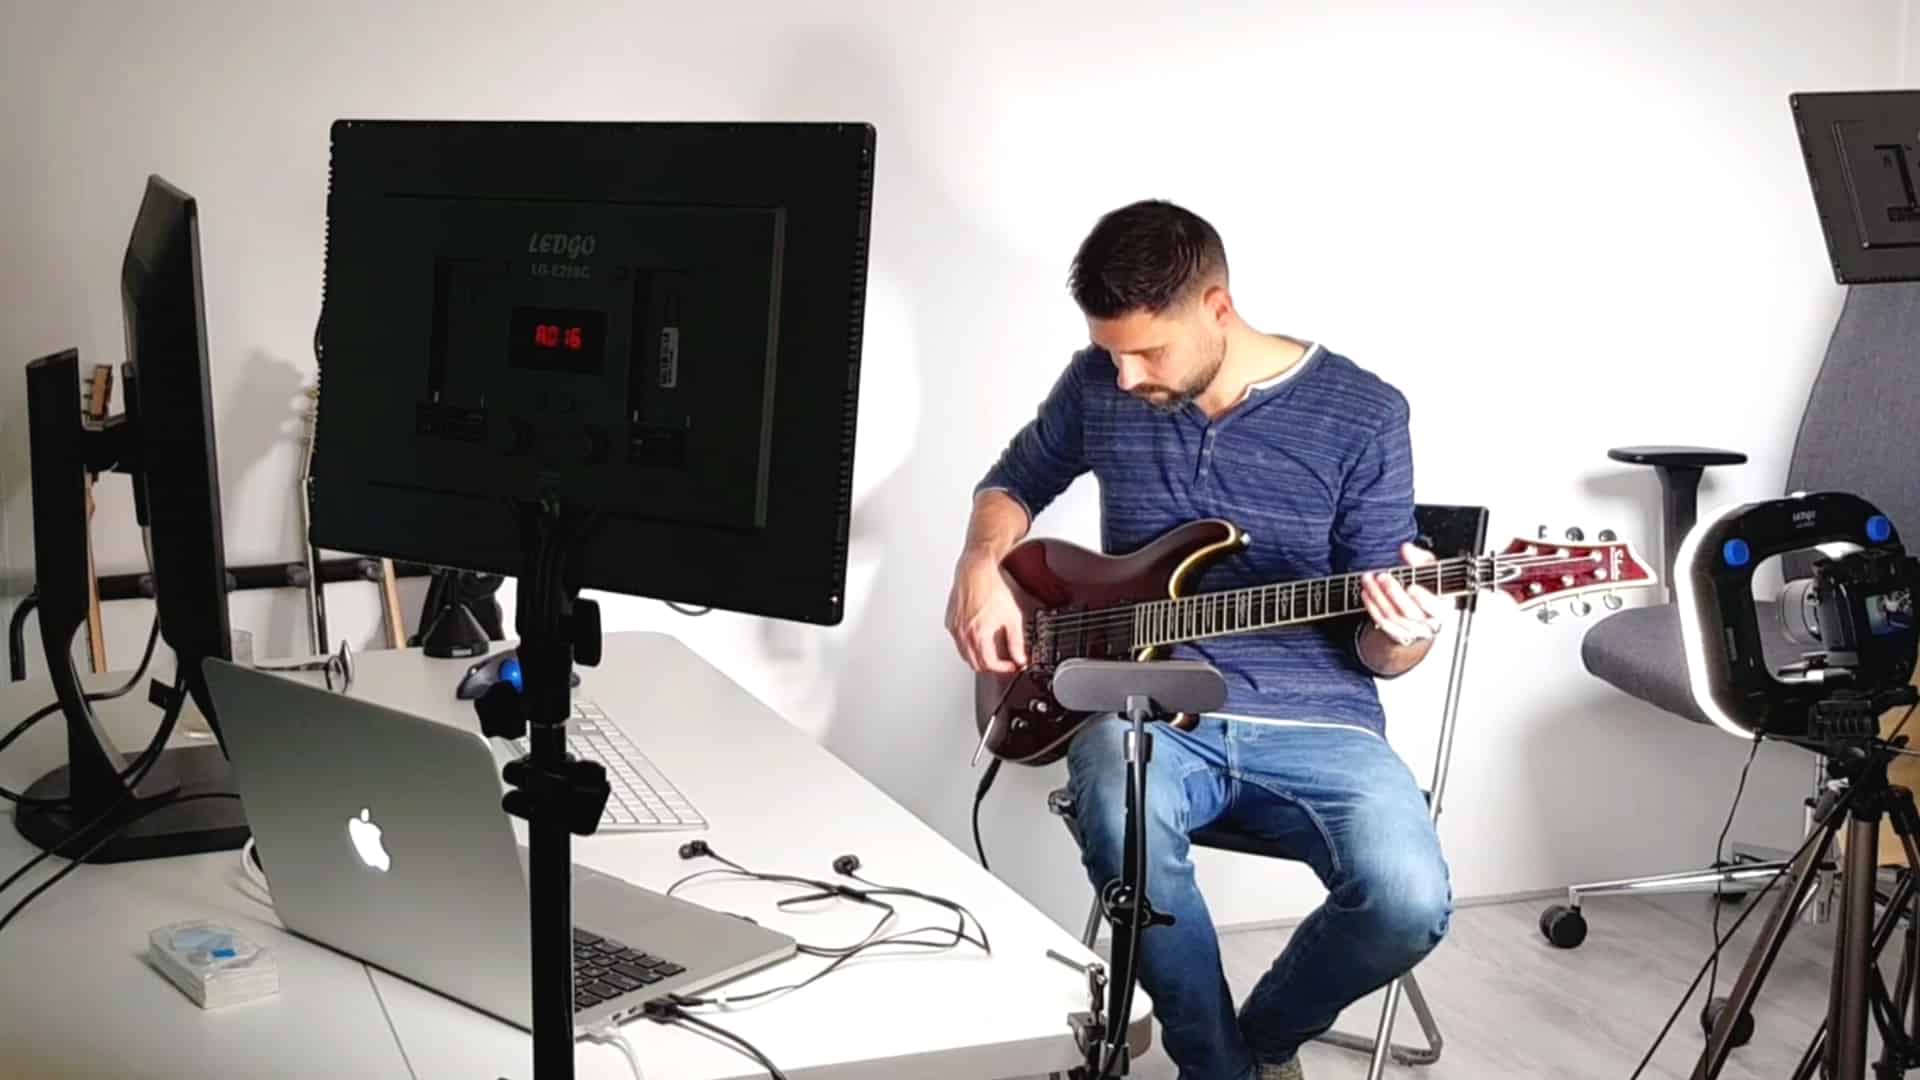
Setting Up Your Home Studio Like a Pro
Step One: Install Your DAW
Installing your Digital Audio Workstation (DAW) is the first step to getting your home studio up and running. Depending on your computer’s specs, this should be a relatively straightforward process. If you’re using GarageBand, you’re already halfway there!
Step Two: Connect Your Audio Interface
Connecting your audio interface should be a breeze. All you need is an AC (wall plug) and a USB cable. Once you’ve got those plugged in, you may need to install some drivers. Don’t worry, these usually come with the hardware or can be found on the manufacturer’s website. Oh, and don’t forget to restart your computer after installing the software.
Step Three: Plug In Your Mic
Time to plug in your mic! All you need is an XLR cable. Just make sure the male end goes in your mic and the female end goes into your audio interface. Easy peasy!
Step Four: Check Your Levels
If everything is connected correctly, you should be able to check your levels on your mic. Depending on your software, the process may vary. For example, if you’re using Tracktion, you just need to record enable the track and you should see the meter bouncing up and down as you talk or sing into the mic. Don’t forget to turn up the gain on your audio interface and check if you need to activate 48 volt phantom power. If you have an SM57, you definitely don’t need it!
Making Your Recording Space Sound Fabulous
Absorbing and Diffusing Frequencies
You can record music practically anywhere. I’ve recorded in garages, bedrooms, and even closets! But if you want to get the best sound, you’ll want to deaden the sound as much as possible. That means absorbing and diffusing the frequencies bouncing around your recording space.
Here are some ways you can do that:
- Acoustic Panels: These absorb mid-to-high frequencies and should be placed behind your studio monitors, on the wall opposite your monitors, and on the left and right walls at ear level.
- Diffusers: These break up the sound and reduce the number of reflected frequencies. You probably already have some makeshift diffusers in your home, like bookshelves or dressers.
- Vocal Reflection Filter: This semi-circular device sits directly behind your vocal mic and absorbs a lot of the frequencies. This drastically cuts down on reflected frequencies that would have bounced around the room before returning to the mic.
- Bass Traps: These are the most expensive treatment option, but they’re also the most important. They sit in the top corners of your recording room and absorb low frequencies, as well as some mid-to-high frequencies.
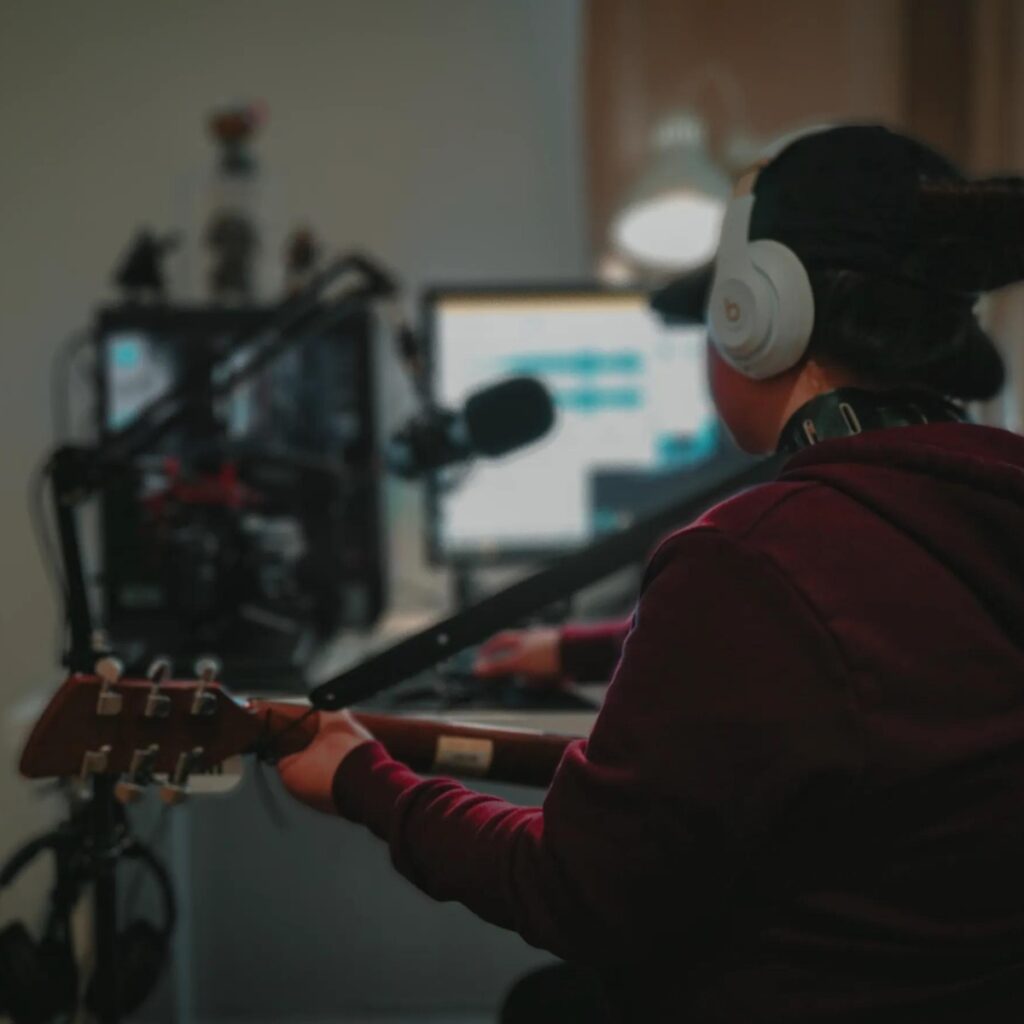
Ready, Set, Record!
Planning Ahead
Before you hit record, it’s a good idea to think about the structure of your song. For example, you could get your drummer to lay down a beat first, so everyone else can stay in time. Or, if you’re feeling adventurous, you could experiment and try something new!
Multi-Track Technology
Thanks to multi-track technology, you don’t have to record everything at once. You can record one track, then another, and then another – and if your computer is fast enough, you can lay down hundreds (or even thousands) of tracks without slowing it down.
The Beatles Method
If you don’t plan on fixing anything in your recording later, you could always try the Beatles method! They used to record around one microphone, and recordings like that have their own unique charm.
Getting Your Music Out There
Don’t forget – none of this matters if you don’t know how to get your music out there and make money from it. If you want to learn how to do that, grab our free ‘5 Steps To Profitable Youtube Music Career’ ebook and get started!
Conclusion
Recording music in your own home is totally achievable, and it’s easier than you think! With the right equipment, you can make your dream of having your own music studio come true. Just remember to be patient and take the time to learn the basics. Don’t be afraid to make mistakes – that’s how you GROW! And don’t forget to have fun – after all, music is meant to be enjoyed! So, grab your mic and let the music flow!

I'm Joost Nusselder, the founder of Neaera and a content marketer, dad, and love trying out new equipment with guitar at the heart of my passion, and together with my team, I've been creating in-depth blog articles since 2020 to help loyal readers with recording and guitar tips.