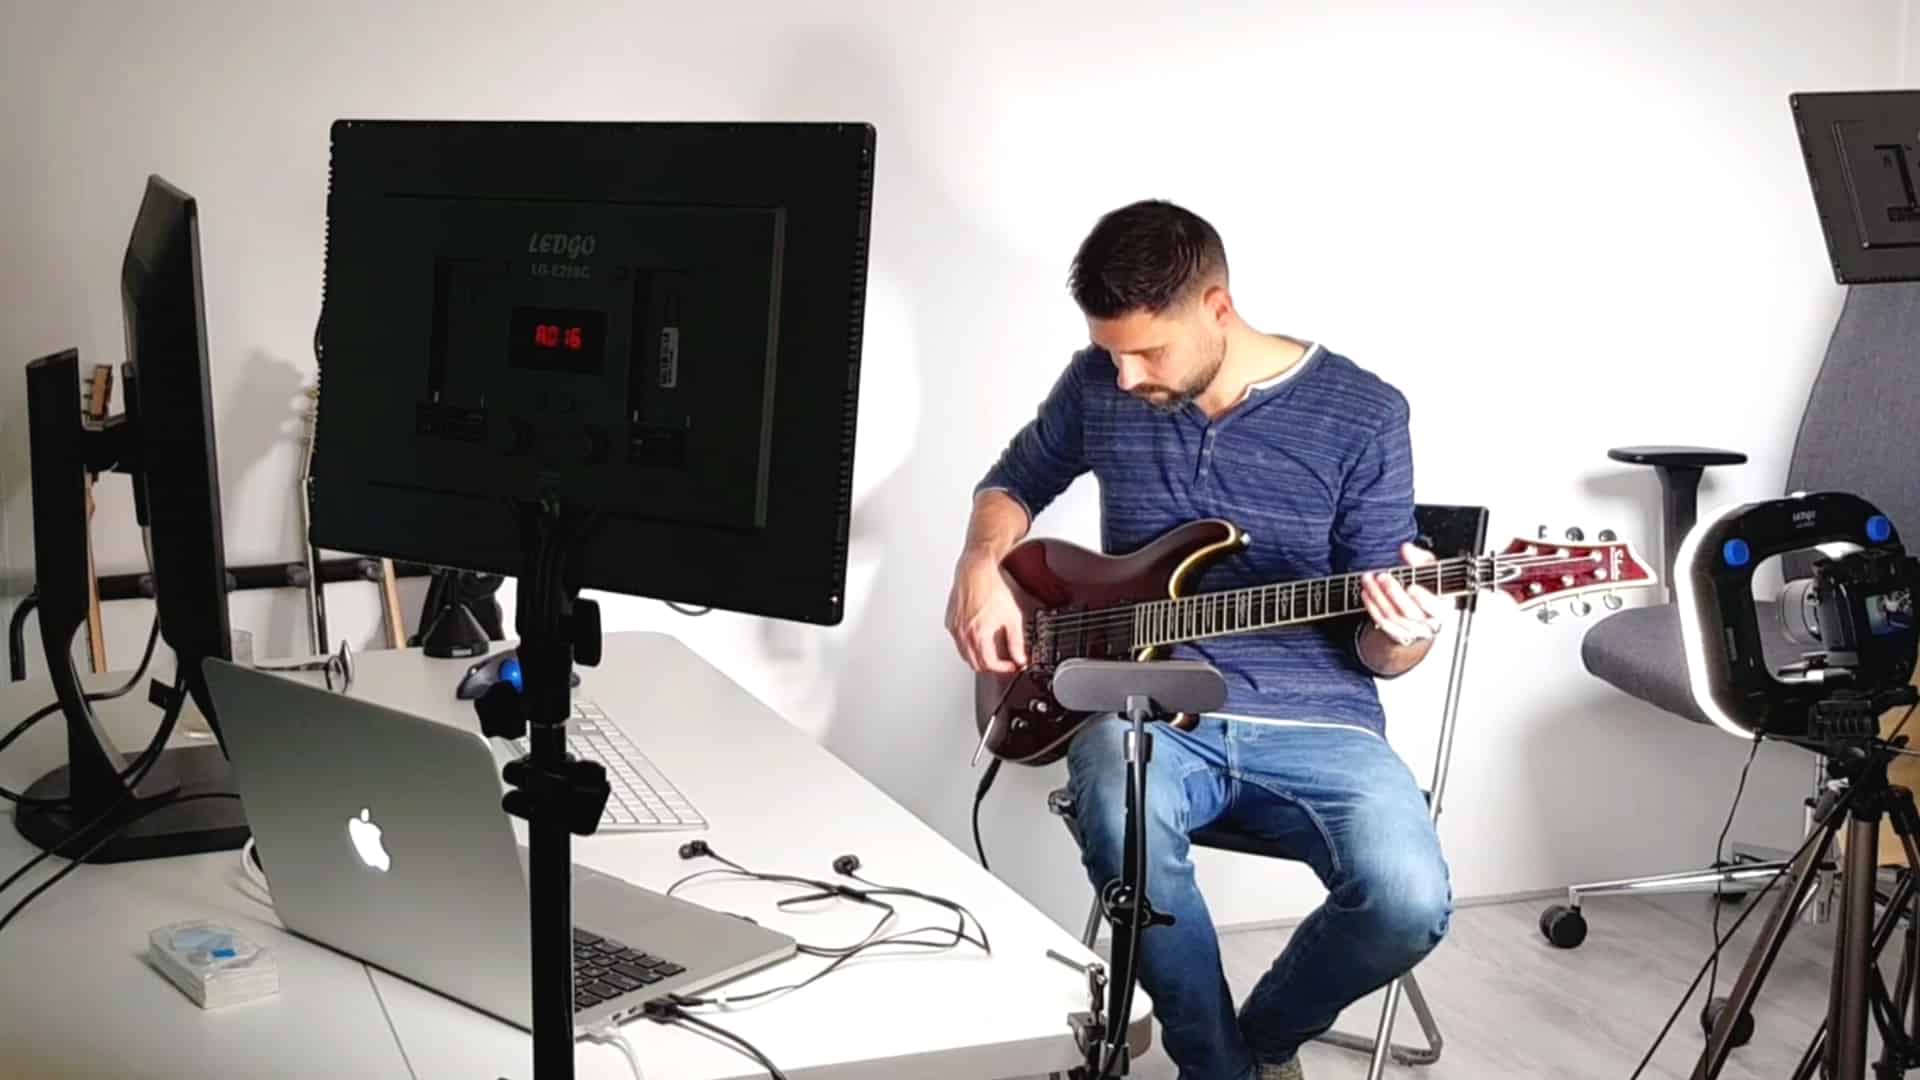
Pre-bending a guitar string is when you bend the string before you play it. This can be done to create a variety of different sounds, depending on how you pre-bend the string.
Most often it’s used to start the note off in the higher-pitched note than the note your fretting to release the bend and move the note back down to the original note.
This creates an opposite effect from string bending to create a uniqueness to your playing style.

Bending the Rules of Guitar Playing: Pre-Bend & Release
What is Pre-Bend?
If you want to take your guitar playing to the next level, you’ll need to learn how to pre-bend. Pre-bending is when you bend a note up first and then strike it. This technique is often used in conjunction with a release after it. Without the release, it just sounds like a regular note. To get the right pitch, you’ll need to be good at bending and know how far to push the string up.
How to Do It
Here’s the basic steps for mastering the Pre-Bend & Release technique:
- Bend the string up to the correct pitch.
- Strike the string and let it sound.
- Release the tension to make the pitch drop.
- Repeat!
What is Pre-Bend & Release?
Pre-bend & release is when you bend the note up to the correct pitch, strike it, and then release the tension back to the normal position. This will make the pitch of the note drop. Take a listen to this pre-bend & release example to get a better idea of what it sounds like:
Example Riff
Here’s an example riff that uses the pre-bend & release technique:
- First, place your 4th finger on the 1st string, 8th fret.
- Have the note on the 2nd string 8th fret already bent up into position with your 3rd finger (this would be pre-bent to the value of two frets).
- Use common sense for the fingering used for the rest of the solo.
- Except for the first two notes, the finger numbers go: 1, 2, 4, 3, 2, 1.
How to Play the Pre-Bend & Release Riff
This riff uses the 1st A Minor Pentatonic Scale with an added note on the 3rd string 6th fret. To get started, place your 4th finger on the 1st string, 8th fret and pre-bend the note on the 2nd string 8th fret up to the value of two frets. Here are some tips for playing the rest of the solo:
- Use common sense for the fingering used for the rest of the solo.
- Except for the first two notes, the finger numbers go: 1-2-3-4-1-2-3-4
- When playing the 1st note, make sure to pre-bend it up to the value of two frets.
- When releasing the pre-bend, make sure to do it slowly and evenly.
- Use vibrato to add expression and emotion to the notes.
Where does the pre-bend fit in the bending technique?
When it comes to guitar playing, there are a few essential techniques you need to master. One of the most important is bending strings. Bending strings is a technique that allows you to create a variety of sounds and effects. Let’s take a look at the different types of bends you can use.
Bend Up
This is the most basic type of bend. You pluck the string and then bend it up to the desired note. The note will either decay away or you can stop it with a picking hand mute.
Bend and Release
This is a bit more complicated than the bend up. You pluck the string and then bend it up to the desired note. You then allow the note to ring momentarily before releasing it back down to the original note.
Prebend
This is the most advanced type of bend. You pre-bend the string to the desired note before plucking it. You then pluck the string and release it back down to the original note.
Mastering the Bends
If you want to become a master of the bends, you’ll need to practice. Here are a few tips to help you out:
- Start with lighter strings, as heavier strings can make bending more difficult.
- Take your time and practice slowly.
- Use a metronome to make sure you’re bending in time.
- Listen to recordings of your favorite guitarists to get an idea of how they use bends.
- Experiment with different types of bends to find the sound you want.
Conclusion
In conclusion, pre-bending is an awesome guitar technique that can add a whole new level of expression to your playing. Whether you’re a beginner or a seasoned pro, it’s definitely worth giving a try! Just remember to practice with patience and use your ears to make sure you’re hitting the right notes. And don’t forget to have FUN – after all, that’s what playing guitar is all about!
I'm Joost Nusselder, the founder of Neaera and a content marketer, dad, and love trying out new equipment with guitar at the heart of my passion, and together with my team, I've been creating in-depth blog articles since 2020 to help loyal readers with recording and guitar tips.

