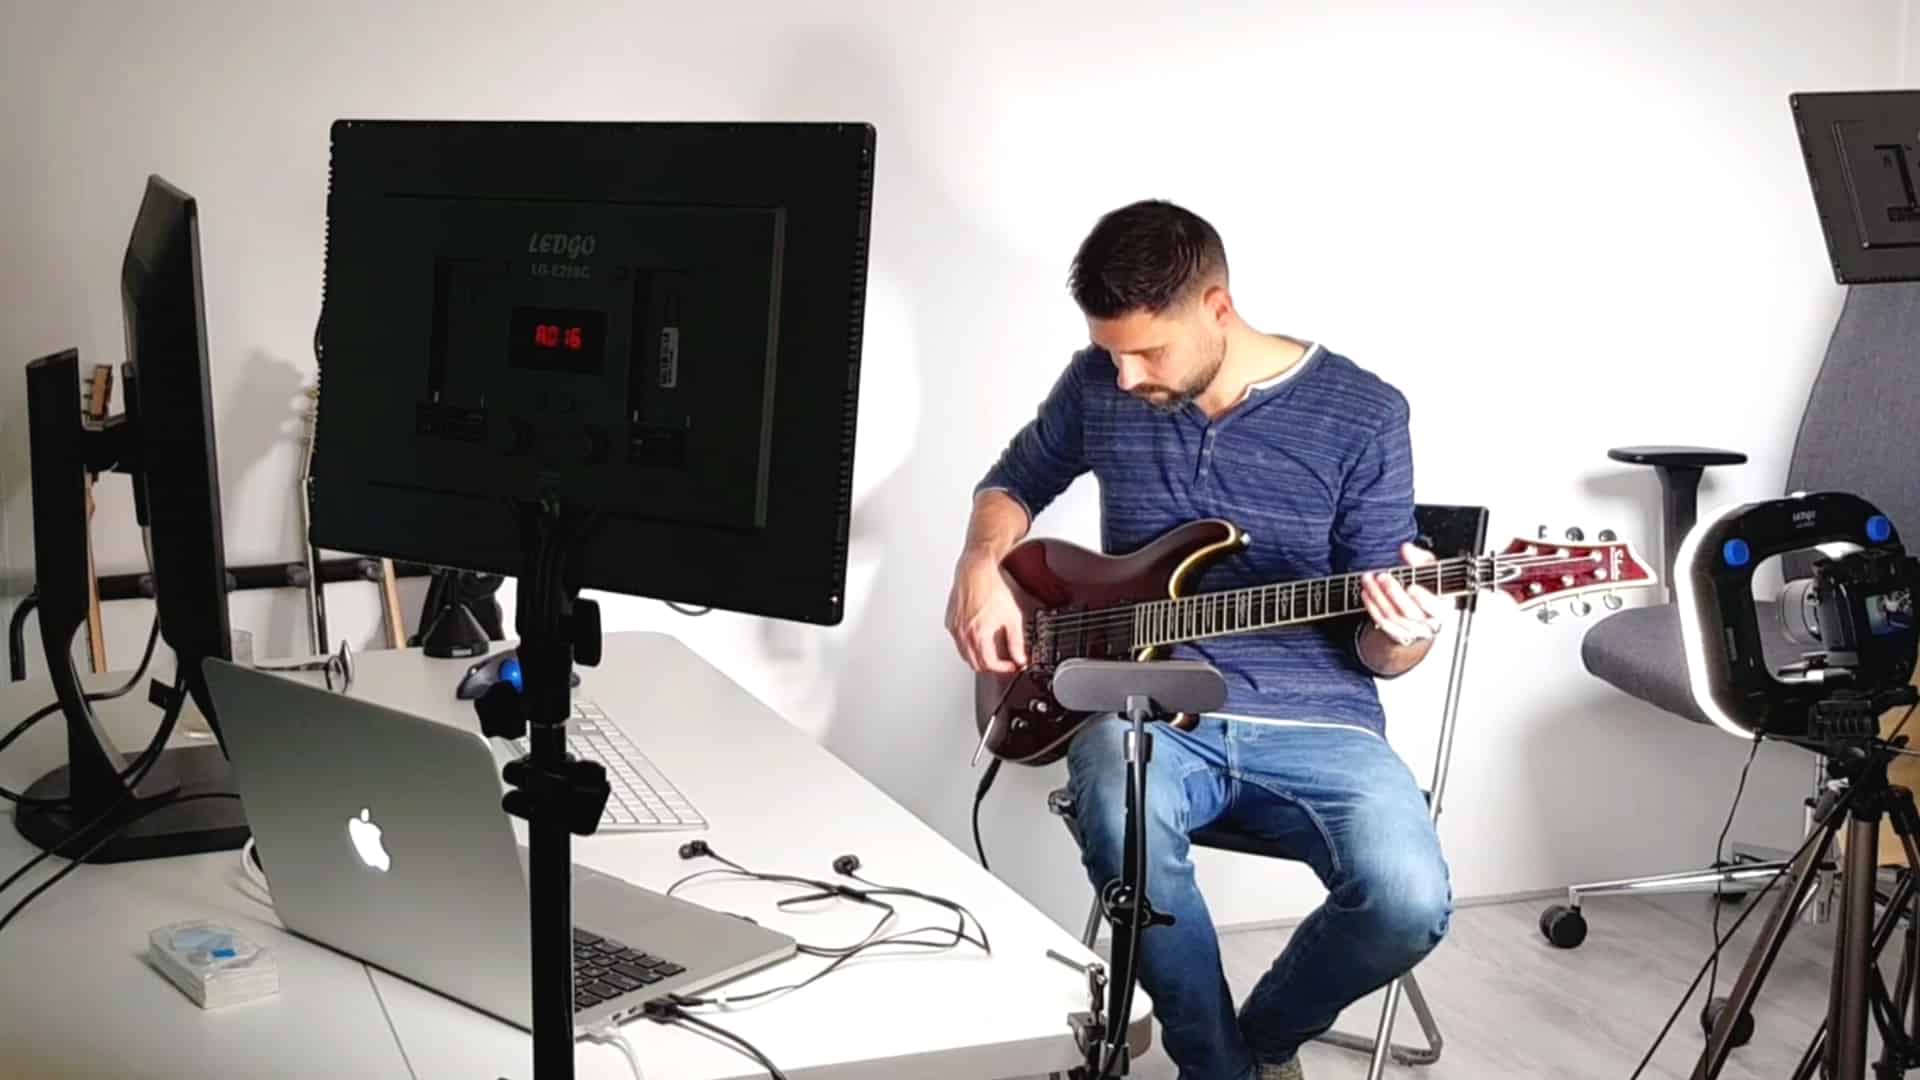
If you are a guitar player looking for exciting new techniques to enhance your guitar playing, there’s a good chance you have come across the term “compression effect.”
Not surprisingly, it’s one of the most misunderstood and perhaps the most complicated techniques to master as a guitarist.
But hey, it’s worth it once you get the hang of it!
The compression effect helps you keep your signal dynamics in control by lowering the loud sounds above a certain threshold and upping the lower ones below it. The compression parameters can be set either during or after the performance (in post-production) through dedicated software and hardware.
This article will cover all the basics you need to know about this magical effect to get you started.
What is the compression effect?
If you a still a bedroom player, it’s understandable why you wouldn’t know much about the significance of the compression effect or even the effect itself; it’s not needed there.
However, you will notice something as you leave the comfort of your room and move to more professional and technical settings like studio space or live stage:
The soft parts constantly dissolve in the wind, while the transient ones remain conspicuous.
Transients are the initial peaks in sound when we hit a string, and soft parts are the ones not as loud, so they don’t come out as defined due to the loudness of the transients.
The reason we use compressors is to control these transients and even them out with the rest of the sound.
Though you could deal with this on your own if you have a certain level of finesse, it is still impossible to even down all the tones due to the tonal nature of an electric guitar.
This is especially relevant when using a clean guitar, without using any particular effects like distortion (which pushes an amp past its limits), and distortion (which, well, is not a clean sound).
To get a consistent sound, even the most seasoned guitarists use the compression effect.
It’s a technique that aids in volume control when the input signal is louder than a set level (known as downward compression) or turns it back when it’s lower (known as upward compression).
Using this effect, the guitar’s dynamic range is evened out; thus, the resulting sounds are smoother, with each note shining out and being noticed throughout the playing time without cracking the volume unnecessarily.
The effect is used by artists from various genres, with blues and country music at the top.
That’s because the dynamic difference between notes in such music is huge as the guitar is primarily played in fingerpicking style.
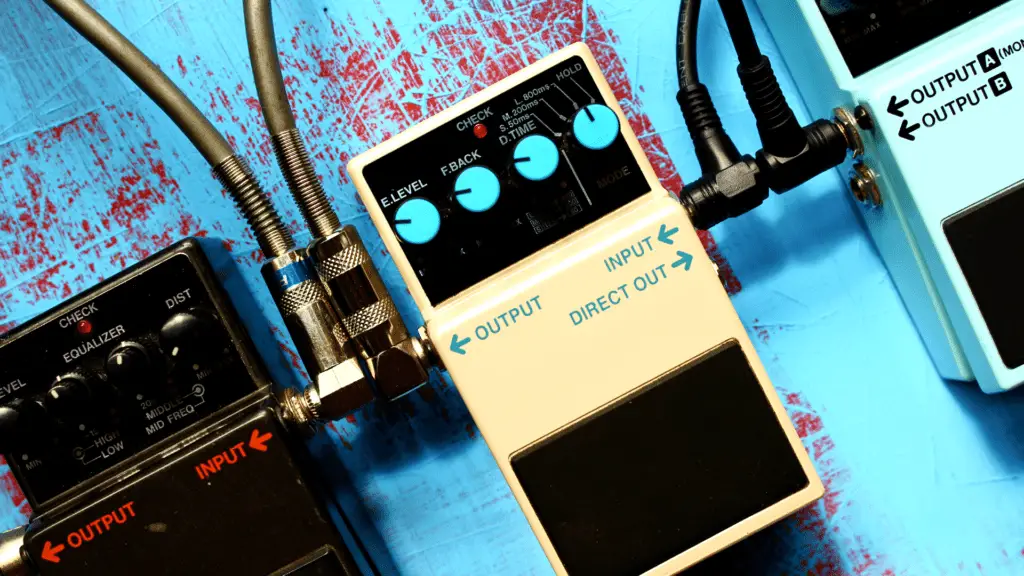
The compression effect is achieved through a device known as the compressor pedal. It’s a stompbox that sits in your signal chain.
In a way, it’s like an automatic sound knob that keeps things within a fixed limit, no matter how hard you strike the string.
Compression turns your already great guitar-playing techniques into something phenomenal while making even the most horrible guitarists sound decent.
But hey, I would recommend mastering the instrument first and then filling in the details through the compressor.
The instrument deserves this much respect, at least!
Compression terms you need to know
If you are thinking about getting a compressor, here are some of the most basic terminologies you need to know as you get started:
Threshold
This is the point above or below which the compression effect will come into action.
Thus, as I previously mentioned, any audio signal that is louder than that will be lowered, while the ones lower will either be upped (if you are using upward compression) or remain unaffected.
Ratio
This is the amount of compression applied to the signals breaking the threshold. The higher the ratio, the more the compressor’s ability to lower the sound will be.
For example, if the compressor has a 6:1 ratio, it will come into effect when the sound is 6db above the threshold, turning down the sound, so it’s only 1db above the threshold.
There are other similar devices like simple limiters with a ratio of 10:1 and “brick wall limiters” with a ratio of ∞:1.
However, they are used when the dynamic range is too high. For a simple instrument like a guitar, a simple compressor works perfectly.
Attack
It is the reaction time of the compressor after an input signal reaches it or the time taken by the compressor to set the attenuation after the signal goes above the threshold.
You can set the attack time fast or low as per your preference. Fast attack time is ideal if you are already a skilled guitarist.
It will help you control those unruly peaks quite conveniently and help you make your performance more polished.
As for those who like their guitar to sound a little extra aggressive, setting a slow attack time will help.
However, it’s not supposed to be used for super dynamic sounds. Trust me; it makes things more horrible than they already are.
Release
It is time the compressor takes to bring the signal back to its level before the compression.
In other words, it is the time taken to cease the sound attenuation once it drops below the threshold level.
Though a combination of fast attack and release is often preferred, a slower release is great in keeping the compression clearer and transparent and works excellent for sounds with longer sustain, like that of bass guitars.
Makeup gain
As the compressor compresses the signal, it must be returned to its original level.
The makeup gain setting allows you to turn up the output and balance the gain reduction incurred during compression.
Though you will find this setting on your pedal, if you don’t, then maybe your compressor is automatically doing the job for you.
Here’s how you set up guitar effect pedals and make a complete pedalboard
What are the different types of compression?
Though there are many types of compressions, the following three are the most common ones:
Optical compression
Optical compression makes use of light-sensitive resistors to even out the signals.
It is known for its smooth and transparent output while being highly forgiving with a slow attack and release settings.
Nevertheless, it doesn’t mean that it’s terrible with faster settings.
Optical compression is known for adding a particular “bloom” to notes while also adding a certain balance to chords, giving the guitar a refined sound.
FET compression
FET compression is controlled by Field Effect Transistor. It’s one of the most commonly used compression types in studio settings.
It is known for adding that signature “smack” to the sound that goes well with every style of playing and genre.
With the correct settings, it’s downright awesome.
VCA compression
VCA stands for Voltage Controlled Amplifier, and It is by far “the” most versatile and common type of compression used by musicians.
Such compressors work on a simple mechanism of converting AC guitar signals to DC voltage, which tells the VCA to turn up or down.
As for its functionality, it will work for you both as a FET compression and optical compression.
Once you get the hang of it, you will love it!
Should you use compression?
Compression is an integral part of modern music.
There’s hardly a song that doesn’t use the effect, even the ones with the most skilled guitarists in the studio.
Using the effect wisely and creatively can turn even the most plain music into something pleasant to the ears.
This guide was about giving you a basic understanding of the effect and the tidbits you must know as you get started.
Still, mastering the effect isn’t as straightforward as it sounds, and you will need a fair amount of practice to use it perfectly.
That said, now all you need to do is to buy an excellent compressor device and get your setup done just the way we have described in this article.
Find the best guitar pedals for effects like compression, distortion and reverb reviewed here

I'm Joost Nusselder, the founder of Neaera and a content marketer, dad, and love trying out new equipment with guitar at the heart of my passion, and together with my team, I've been creating in-depth blog articles since 2020 to help loyal readers with recording and guitar tips.